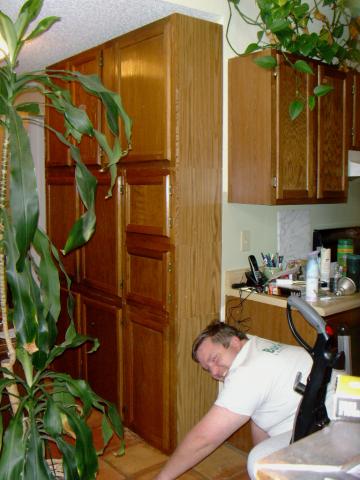
Our friend gave us her upper cabinets when she removed them for her kitchen remodel project, and we hope to use them to fill part of our extra wide hallway next to the kitchen with cabinets to add more storage space.
|
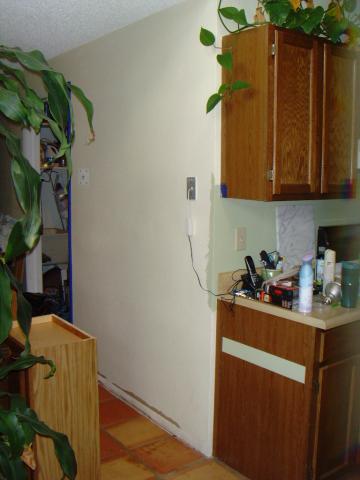
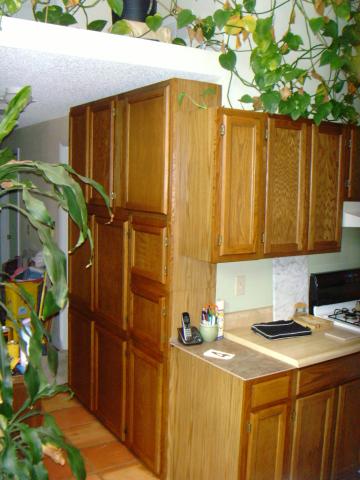
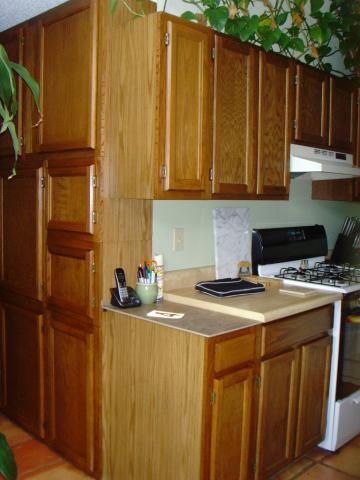
We had a giant china cabinet sitting here for some storage, but we have been wanting to replace it with floor to ceiling narrow cabinets.
|
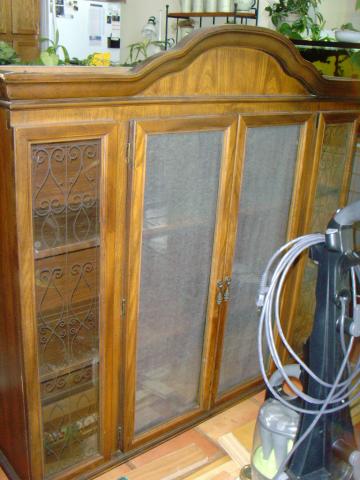
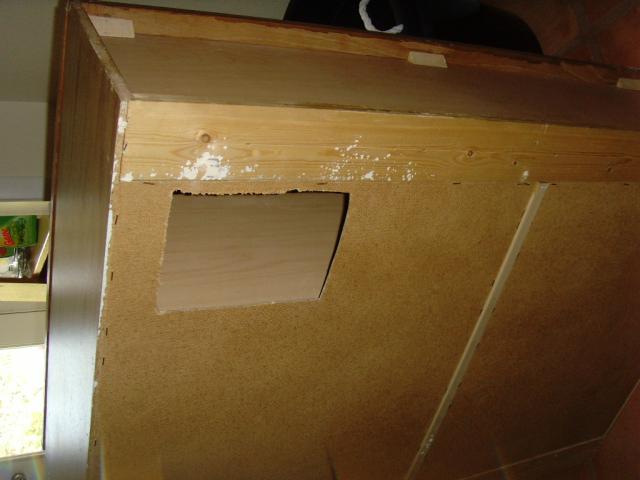
This is the upper section of the giant china cabinet that was in place along the wall. (Base not shown) The base stuck out too much, and only the two center doors on the top open, so it wasn't very useful for cupboards, but buying new cabinets would be just too expensive and trying to stain new cabinets to match ours didn't sound easy at all.
|
A spreadsheet set as a grid and rectangular 'objects' can be used to really figure out what can be done with what you have. It looks like we will use almost all the upper cabinets in this stack with only needing to cut one in half, and one open section off another.
|
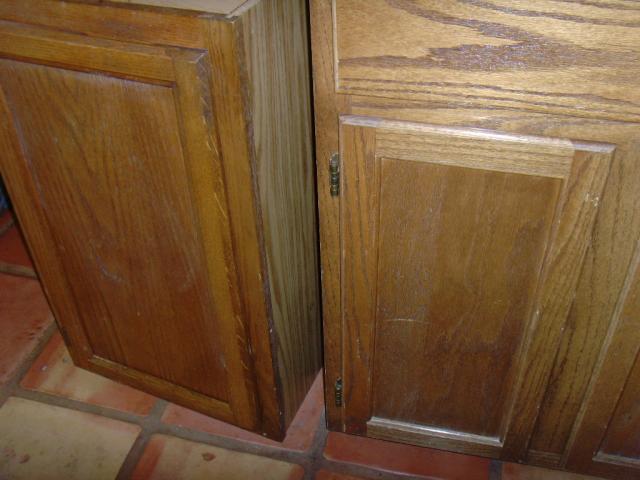
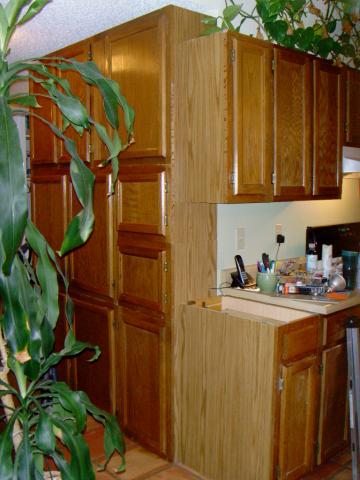
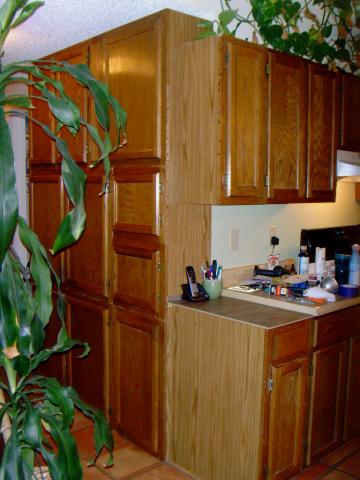
They match almost perfectly... even the hinges! Of course they will need a scrubbing and some refinishing to be ready.
|
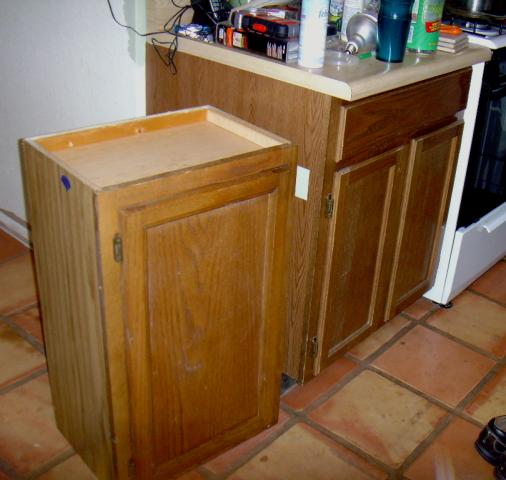
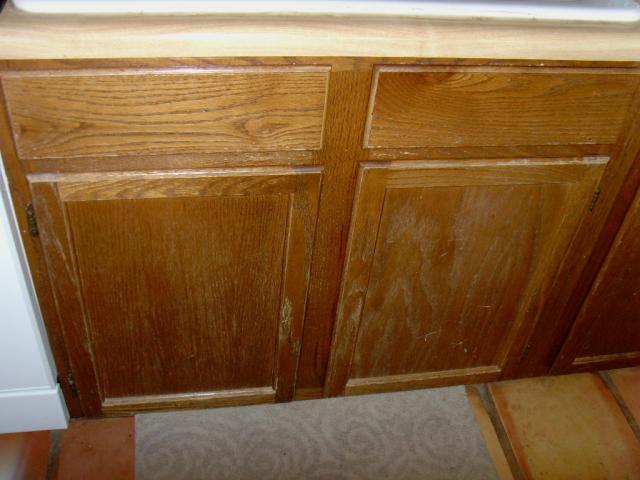
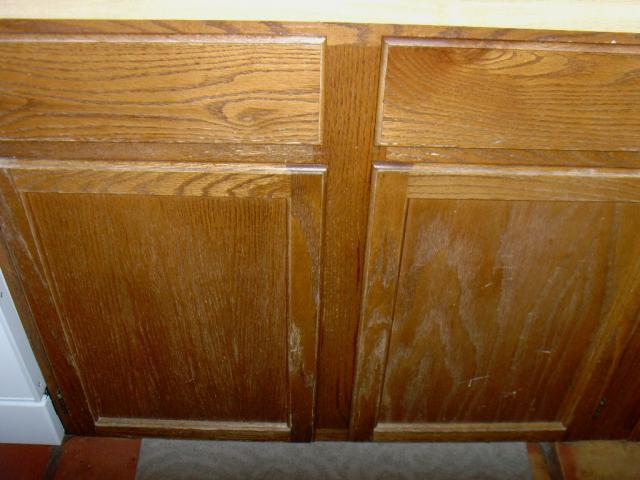
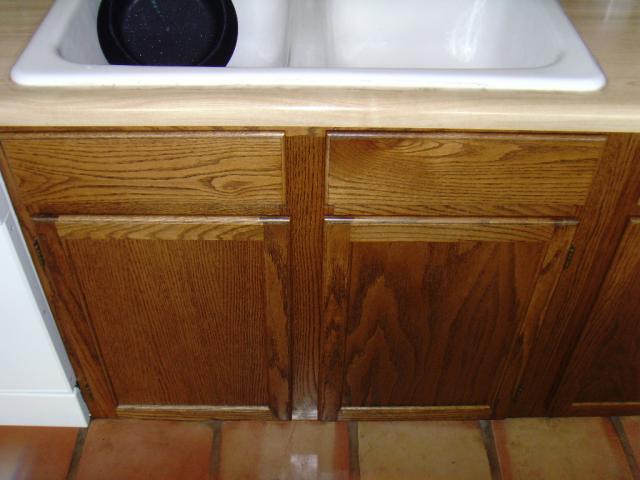
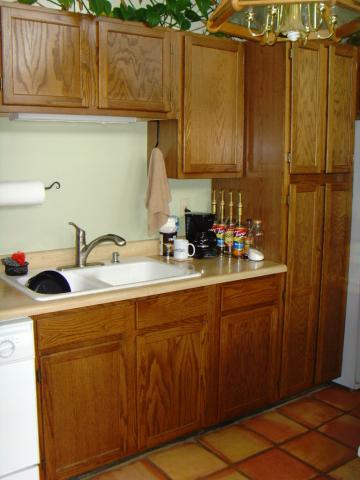
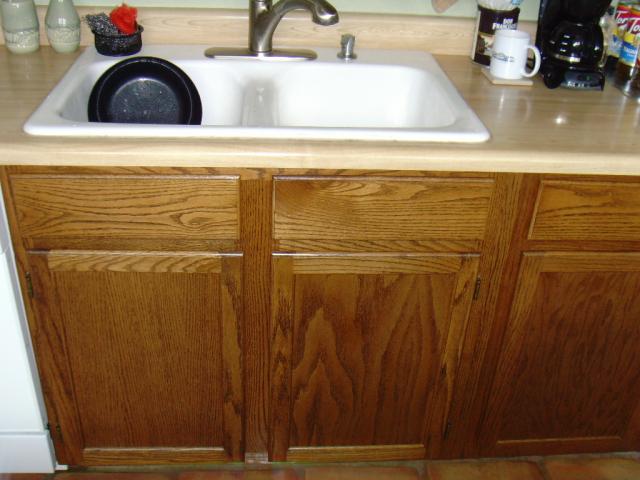
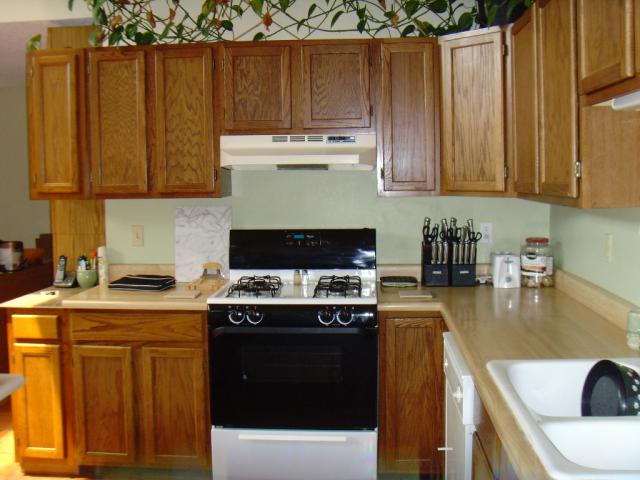
Mostly the cabinets under and near the sink need some improvement.
|
|
|
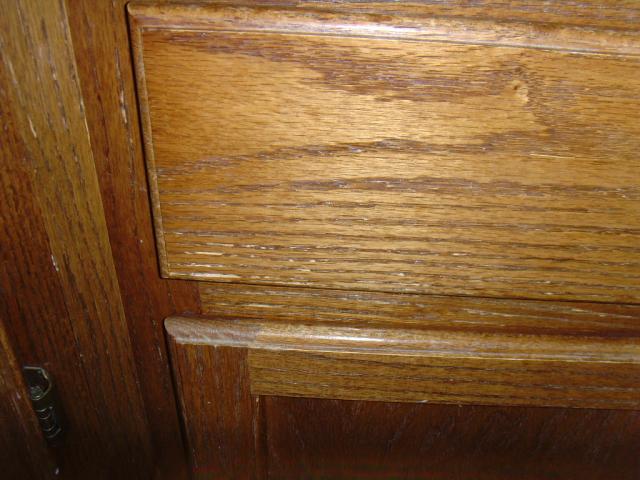
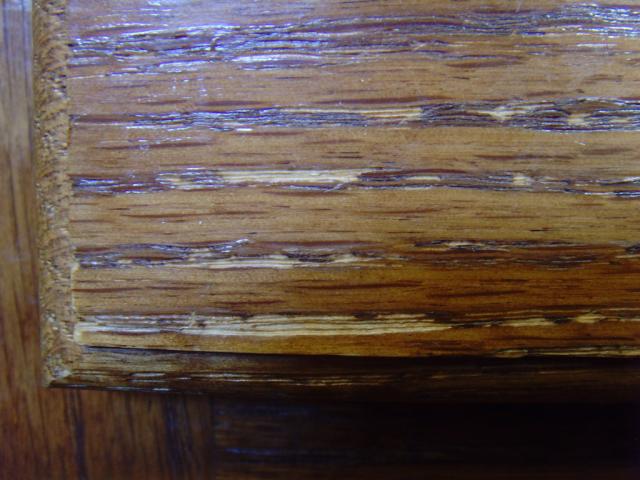
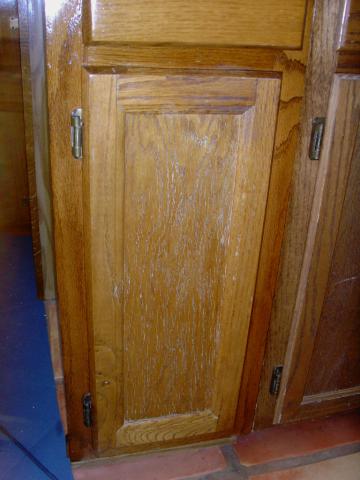
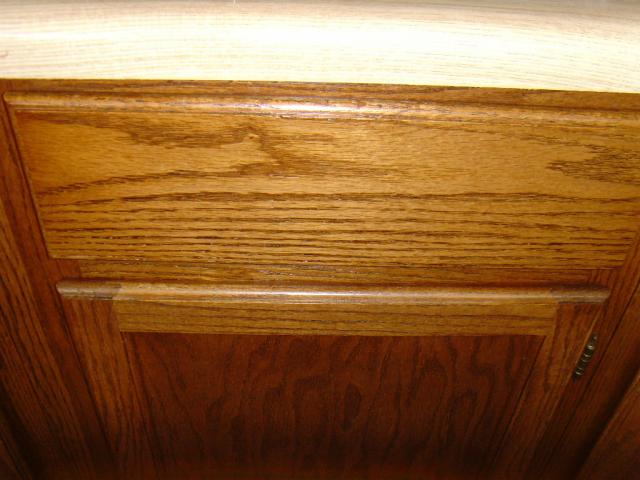
The old varnish is damaged in places from water or fingernails.
|
|
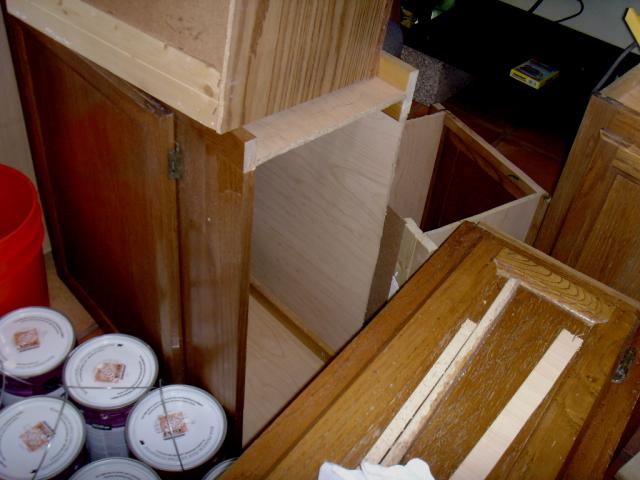
One cabinet was a single door with a smaller opening that was hidden in the L shape of corner. This open end cut off to make a perfect length for one row with another cabinet.
|
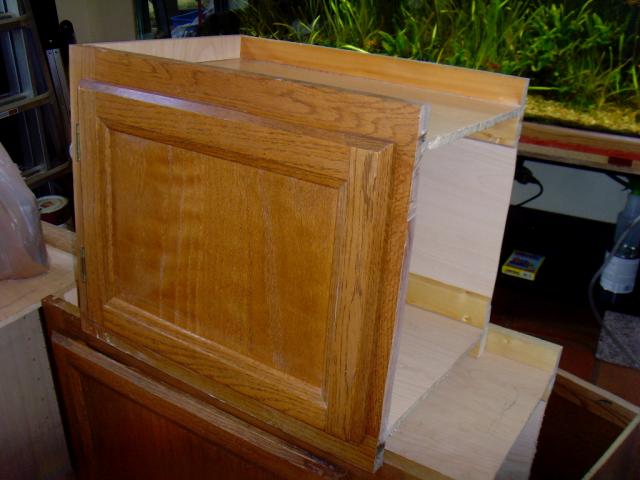
Though some filing and additional trimming was needed to get a perfect fit, this cabinet was cut in half to stack as a 18 inch wide section.
|
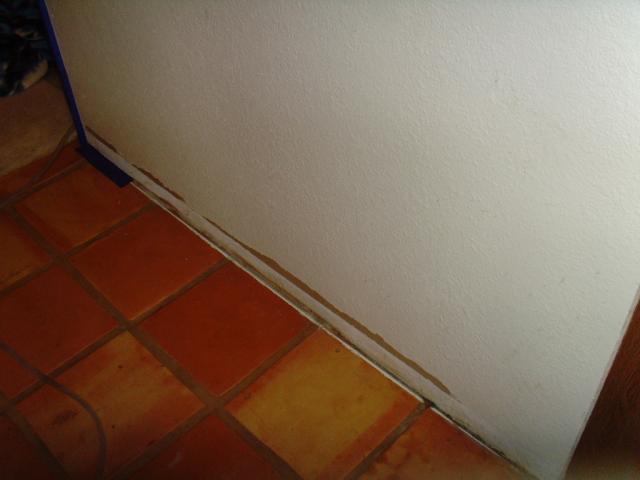
I have removed the base trim so that the cabinets will fit flush to the wall.
|
|
|
|
12in Base cabinet pairs with 12in top to extend the original cabinets and give a "Wrap Around" effect to tie things together.
|
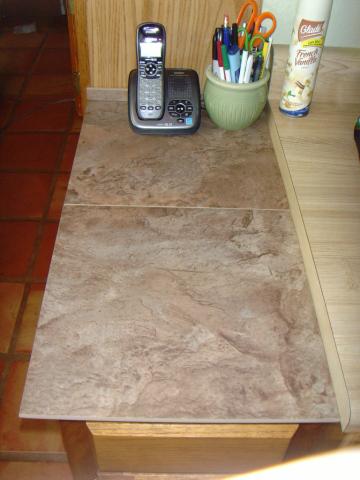
Some Lowes will still make one or two tile cuts when you buy your tiles. Yea! The small amount needed cut off the tile to fit it just right made a cute tiny back-splash. We chose these tiles because if you can't match your counter, compliment it. And it will make a nice little telephone area.
|
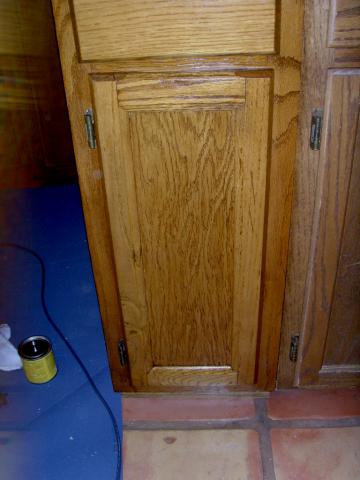
Cleaning went well, and the oil stain rub-on was going good until I made the mistake of placing the tiny 8oz tin can on top of some coffee cans in front of the area I was working on... then opened my cupboard and hit the can. I swear! No less than 10 gallons of dark, oily liquid shot out of that thing and went onto everything from one end of the kitchen clear into the dining area and a huge puddle of thick stain on the floor! Took somewhere between 4 and 6 hours to clean up the majority using over half a bottle of pure concentrated orange cleaner, and am still finding spots that I missed.
|
Oil stain is rubbed on the cabinet, then the excess rubbed away so that the cracks and chips are filled in. The rest of the cabinets need it too. I am finding more and more scratches and chips as I inspect our cabinets. Might as well do them all!
|
We used Spray Polyurethane for the doors, and brush-on liquid for the frames inside.
|
|
|
|
|
|
|
|
|
|
|